
Recomendados
Más contenido relacionado
Más de Greg Bennett
Más de Greg Bennett (20)
Último
Último (12)
Corrective seeding by lcs lawn services
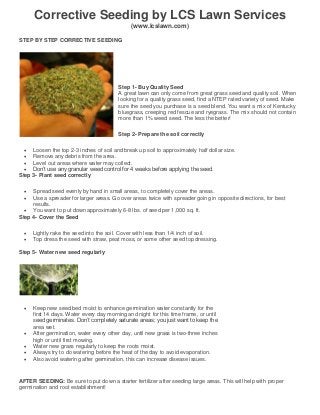
- 1. Corrective Seeding by LCS Lawn Services (www.lcslawn.com) STEP BY STEP CORRECTIVE SEEDING Step 1- Buy Quality Seed A great lawn can only come from great grass seed and quality soil. When looking for a quality grass seed, find a NTEP rated variety of seed. Make sure the seed you purchase is a seed blend. You want a mix of Kentucky bluegrass, creeping red fescue and ryegrass. The mix should not contain more than 1% weed seed. The less the better! Step 2- Prepare the soil correctly Loosen the top 2-3 inches of soil and break up soil to approximately half dollar size. Remove any debris from the area. Level out areas where water may collect. Don’t use any granular weed control for 4 weeks before applying the seed. Step 3- Plant seed correctly Spread seed evenly by hand in small areas, to completely cover the areas. Use a spreader for larger areas. Go over areas twice with spreader going in opposite directions, for best results. You want to put down approximately 6-8 lbs. of seed per 1,000 sq. ft. Step 4- Cover the Seed Lightly rake the seed into the soil. Cover with less than 1/4 inch of soil. Top dress the seed with straw, peat moss, or some other seed top dressing. Step 5- Water new seed regularly Keep new seed bed moist to enhance germination water constantly for the first 14 days. Water every day morning and night for this time frame, or until seed germinates. Don’t completely saturate areas; you just want to keep the area wet. After germination, water every other day, until new grass is two-three inches high or until first mowing. Water new grass regularly to keep the roots moist. Always try to do watering before the heat of the day to avoid evaporation. Also avoid watering after germination, this can increase disease issues. AFTER SEEDING: Be sure to put down a starter fertilizer after seeding large areas. This will help with proper germination and root establishment!