
Recomendados
Recomendados
Más contenido relacionado
Último
Último (20)
Destacado
Destacado (20)
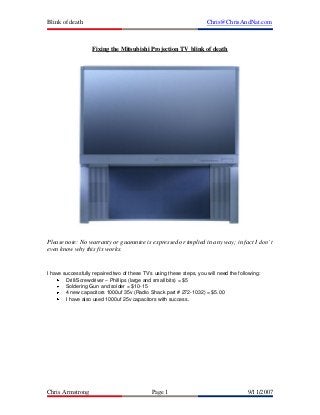
Fixing the Mitsubishi Projection TV blink of death
- 1. Blink of death Chris@ChrisAndNat.com Fixing the Mitsubishi Projection TV blink of death Please note: No warranty or guarantee is expressed or implied in any way; in fact I don’t even know why this fix works. I have successfully repaired two of these TV’s using these steps, you will need the following: Drill/Screwdriver – Phillips (large and small bits) = $5 Soldering Gun and solder = $10-15 4 new capacitors 1000uf 35v (Radio Shack part # 272-1032) = $5.00 I have also used 1000uf 25v capacitors with success. Chris Armstrong Page 1 9/11/2007
- 2. Blink of death Chris@ChrisAndNat.com I believe this fix applies to the Mitsubishi TV models listed below, which have the blinking green light of death. The technical details of the fix were obtained from the following URL: http://forum.ecoustics.com/cgi-bin/bbs/show.pl?2/108250 Models covered: WS-48513 WS-55513 WS-65513 WS-73513 WS-48613 WS-65613 WS-65713 WS-73713 WS-55813 WS-65813 Turn of the TV, and unplug. Remove the back cover, should look as below: Chris Armstrong Page 2 9/11/2007
- 3. Blink of death Chris@ChrisAndNat.com Remove the four screws that attach the main board to the wood base, screws are large lag bolts located on the sides as shown below: The arrow below shows where the clips are located. Chris Armstrong Page 3 9/11/2007
- 4. Blink of death Chris@ChrisAndNat.com th Remove the 5 screw holding down the main board, as seen below: Chris Armstrong Page 4 9/11/2007
- 5. Blink of death Chris@ChrisAndNat.com In order to slide the board out far enough you may need to open some of the white plastic wire retainers, also remove a few plugs. We only needed to unplug the two below: Unplug cables on top of the metal box, unscrew for screws holding the box down (2 in front, 1 on each side). Chris Armstrong Page 5 9/11/2007
- 6. Blink of death Chris@ChrisAndNat.com Once the four screws are removed, pull the metal box straight up. Note we only had to pull the main board out about 4 inches. Remove the metal casing, about 4 screws. The board will slide out. Find the four capacitors you are going to replace, shown below: Chris Armstrong Page 6 9/11/2007
- 7. Blink of death Chris@ChrisAndNat.com Remove each of the four capacitors and replace them with the new capacitors, ensure you install the correctly. All four are installed in the same direction. Once you have replaced your capacitors you may try to reinstall the cover, this may or may not fit. Now install the DM board back into your TV. Secure the DM board; ensure all plugs you removed are reinstalled correctly. TEST: Power on the TV, the light should blink again for 60 seconds then your TV should work again. Good luck Extra photos for reference: Chris Armstrong Page 7 9/11/2007
- 8. Blink of death Chris@ChrisAndNat.com New caps are larger, so you may have to install at an angle to fit the cover on again. Old caps in hand, new installed. Chris Armstrong Page 8 9/11/2007