Camunda BPM Enterprise Application Configuration
•
0 likes•115 views

Camunda BPM Enterprise Application, Optimize Configuration and setup.

Recommended
Recommended
More Related Content
What's hot
What's hot (20)
Similar to Camunda BPM Enterprise Application Configuration
Similar to Camunda BPM Enterprise Application Configuration (20)
Recently uploaded
Recently uploaded (20)
Camunda BPM Enterprise Application Configuration
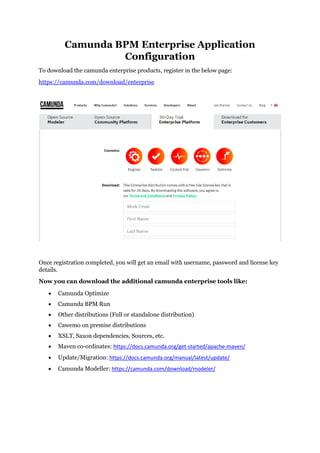
- 1. Camunda BPM Enterprise Application Configuration To download the camunda enterprise products, register in the below page: https://camunda.com/download/enterprise Once registration completed, you will get an email with username, password and license key details. Now you can download the additional camunda enterprise tools like: Camunda Optimize Camunda BPM Run Other distributions (Full or standalone distribution) Cawemo on premise distributions XSLT, Saxon dependencies, Sources, etc. Maven co-ordinates: https://docs.camunda.org/get-started/apache-maven/ Update/Migration: https://docs.camunda.org/manual/latest/update/ Camunda Modeller: https://camunda.com/download/modeler/
- 2. Camunda Enterprise Application Development: Open STS > Window > Preferences > Maven > User Settings, then configure the credentials in settings.xml to access camunda nexus repo. In Settings.xml, configure like below: Create New Spring Starter project from STS, select type as Maven, Packaging as Jar and provide other details, then apply. In pom.xml, add below dependencies:
- 3. In pom.xml, add below nexus repository: Create a main class with annotation: To enable authorization:
- 4. In bootstrap.yml file, authorization need to be enable to work for above configuration:
- 5. To Enable CORS filter: License key file should present in the classpath: /src/main/resources/camunda-license.txt
- 6. License key file: Project structure: Add processes.xml file for process auto deployment (/META-INF/):
- 7. Build the application with below command: mvn clean build Once build is successful, application is ready to run: You can see the license file from classpath got detected automatically and the license key got persisted in the database. Log Message: Setting up license key: file:/C:/sts-3.9.1- workspace/camundaenterprise/target/classes/camunda-license.txt
- 8. Verify the registered license key file from camunda database: License key will be added in the table ACT_GE_PROPERTY Query: SELECT * FROM PUBLIC. ACT_GE_PROPERTY To add the license key file from URL: In application.yml file add below entry:
- 9. Login to the camunda nexus server with credentials: https://app.camunda.com/nexus/ Run the application as Spring Boot App: Login to the Cockpit: http://localhost:8080/{webAppContextpath}
- 10. Heat Map (Historical View): Process Instance Migration:
- 11. Enterprise Camunda Optimize setup: Download from: https://docs.camunda.org/enterprise/download/#camunda-optimize Extract the zip to the any location in the system. If authorization enabled or web apps context path changed for camunda server, then: Path: camunda-enterprisecamunda-optimize-3.1.0-demoenvironmentenvironment- config.yaml Run the batch file optimize-demo.bat it will start the elastic search and optimize server:
- 12. Camunda Optimize Console logs: Verify Elastic search server status: Optimize and Elastic search logs can be found in the path: Log file path: camunda-enterprisecamunda-optimize-3.1.0-demolog
- 13. Login to Camunda Optimize with cockpit credentials and enter the license key. Cawemo Login URL: http://localhost:8090/ Create dashboards and reports in Camunda Optimize: Create reports in Camunda Optimize like below: That’s all folks. Enterprise Camunda spring boot and Camunda Optimize was been configured successfully!!!