

Recomendados
Más contenido relacionado
Similar a Arduino lab 1_0
Similar a Arduino lab 1_0 (20)
Más de Open.Embedded
Último
Último (9)
Arduino lab 1_0
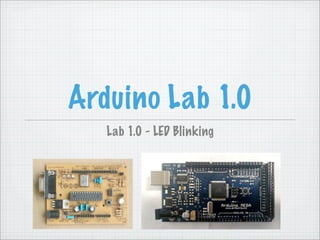
- 1. Arduino Lab 1.0 Lab 1.0 - LED Blinking
- 2. Material Required Arduino Board + RS232 Cable + Power Supply Or Arduino Mega + USB Cable Installed Arduino IDE on your computer Working RS232 or USB port in your computer
- 3. Setup Arduino programming is like C. It has t wo basic functions. First is setup - this has all commands that are executed only once. void setup (void) { ; }
- 4. Loop Second function is loop - This has commands executed in a continius loop. void loop (void) { ; }
- 5. Predefined Commands There are few predefined commands First command is pinMode. This sets the function of pin as input or output. Usually this is done in setup function void setup (void) { pinMode (13,OUTPUT); }
- 6. Predefined Commands Another is digitalWrite. This write HIGH or LOW on pins defined as OUTPUT. This can be executed in setup or loop function void loop (void) { digitalWrite (13,HIGH); }
- 7. Predefined Command Another command is delay. This provide delay in msecs. void loop (void) { digitalWrite (13,HIGH); delay(500); digitalWrite (13,LOW); delay(500); }
- 8. First Program #define LED 13 void setup (void) { pinMode (LED,OUTPUT); } void loop (void) { digitalWrite (LED,HIGH); delay(200); digitalWrite (LED,LOW); delay(200); }
- 9. Verify-Upload Click on VERIFY (Sketch | Verify) Click on UPLOAD (File | Upload) Wait - it will start running, LED will start blinking after few seconds. Change the delay, verify and upload again. See the difference on blinking time and speed.
- 10. Next Level Program Modify the program so that with single LED you create morse code of SOS. Send me an email giving your experience, total time spent and problems faced in the process. This is first part of training. You will be getting next level of training soon.
- 11. Contact Me Have more ideas, queries, suggestions? Contact me at - Vinay Chaddha email : vinay@open-embedded.info SMS : 9811074026 know more about me at visualcv.com/ gvc3065
- 12. Check us online Join our facebook page at facebook.com/open.embedded Buy products from myworld.ebay.in/ open.embedded