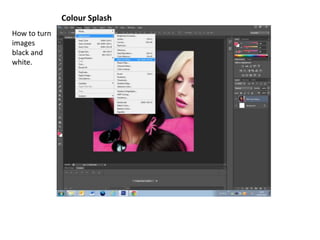
3. Select inverse to pick everything
else but the colour you have
chosen to make the colour stand
out against the black and white.
4. To make the colour brighter and
more vivid you can increase the
hue, saturation, brightness and
contrast.
5. Metal front cover- brushes, transform, bevel
I changed the
background colour to
pink as the font I
chose was very girly
and elegant. I did this
1 by selecting the fill
button (1) and then
chose the colour I
wanted (2)
2
6. I got this text from www.dafont.com but I had to make the background transparent
as it was originally white. I did this by going to select ,colour range, select the white
background, clicked ok and then pressed the delete button on my keyboard and
then you are left with same writing but without the background.
7. I made all the layers visible and put the writing on top so it can be seen. You can use
effects on your text by going to edit, transform and there are many different things to
choose from. I didn’t use and on mine as I liked the way it is normally.
8. CD cover
I selected the photo I wanted to use as I then went on to edit the text that I wanted
my CD front cover and dragged it from on my CD cover. Once again I had to make
my pictures onto the Photoshop the background transparent and I also
document and stretched it to the size I wanted to change the colour of the text so it
wanted so it would fit the whole cover. would stand out against the dark
background. I did this by clicking the fill icon
and picking the colour required which in this
case was white.
9. After I had made the text white I made both the layers visible and put the text layer on
top of the image layer so the text would be visible.
10. CD back cover
I selected the photo I
wanted to use as my CD
front cover and dragged it
from my pictures onto the
Photoshop document and
stretched it to the size I
wanted so it would fit the
whole back cover.
I then put the artists name
in the top corner.
11. I inserted a text box and picked
a suitable font for the track
listings.
I then went online to find a
record company's logo to use on
my back cover. I then inserted it
onto my back cover and resized it
so it was small and was able to fit
into the bottom corner.
12. I inserted another text
box at the bottom for
the credits and rights
and regulations
I went online to make my own
barcode and then inserted it onto
the back cover.