Scanning documents with Simple Scan
•
1 recomendación•7,259 vistas

The document provides step-by-step instructions for scanning documents at the North Bend Public Library using their Skanlite scanning software. It explains how to place documents on the scanner, open the scanning program, select scan settings like color or grayscale and resolution, preview and select a scan area, and save the scanned file to the desktop. The process results in a digital file of the document that can be saved, emailed or transferred via thumb drive.

Recomendados
Más contenido relacionado
La actualidad más candente
La actualidad más candente (9)
Similar a Scanning documents with Simple Scan
Similar a Scanning documents with Simple Scan (20)
Más de North Bend Public Library
Más de North Bend Public Library (20)
Último
Último (20)
Scanning documents with Simple Scan
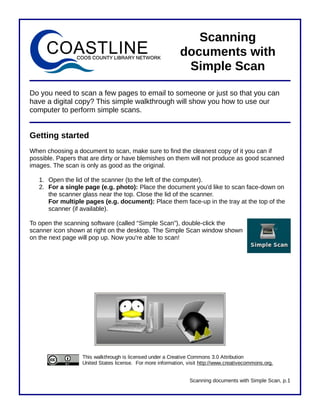
- 1. Scanning documents at the North Bend Public Library Do you need to scan a few pages to email to someone or just so that you can have a digital copy? This simple walkthrough will show you how to use our computer to perform simple scans. Getting started When choosing a document to scan, make sure to find the cleanest copy of it you can if possible. Papers that are dirty or have blemishes on them will not produce as good scanned images. The scan is only as good as our original. 1. Open the lid of the scanner (to the right of the computer). 2. place the document you'd like to scan face-down on the scanner glass in the top- right corner. For a two-sided document, make sure that the side you'd like to scan is face down. 3. Close the lid of the scanner. To open the scanning software (which is called “Skanlite”), double-click the scanner icon shown at right on the desktop. A small window will pop up saying “Looking for devices. Please wait” (shown below). Shortly after, the window shown on the next page will pop up. Now you're able to scan! Scanning documents at NBPL, p.1
- 2. The main Skanlite screen Scan mode: Choose whether to scan in color, grayscale, or black & white. Preview area: Shows you what your scan will look Resolution: like before you Determines make a final scan. the quality and size of the scanned Brightness & Contrast: Action buttons: image. Adjust how dark or light Allow you to the scan of your preview, change document will be. settings, and make your final scan. Scanning a document To scan a color document, simply follow these steps. 1. Make sure that the option to the right of “Scan mode” says “Color” (as shown at right) for color documents, “Grayscale” for black, white, and grey documents, or “Lineart” for black and white documents. If it doesn't, click the small down arrow to open a menu and left-click the color option. 2. In the Scan resolution box, using the up & down arrows or simply by typing in the box, change the DPI to 300 for a color or grayscale document or 150 for a black & white document. DPI, or “Dots Per Inch,” is a measure of how high quality the scan is. The higher the number, the larger the size (in computer terms) will be for your final scanned document. Three hundred is a reasonable size for most color or grayscale documents, particularly if you are emailing them. If you are planning to use your scan for graphic design or other purposes, a higher DPI may be in order. Keep in mind, though, that the higher this number, the slower the scanning will take. 3. Click the “Preview” button in the bottom right of the screen to preview your scan. A sample preview of scanned document is shown below. Scanning documents at NBPL, p.2
- 3. A preview of your document will appear on this part of the screen. Use your mouse to select the portion you want to scan. 4. A preview of your document is shown on the right side of the screen. If you just want to use part of the image, move your mouse cursor just to the outside of the part of the document you want to save. A dotted line will appear around what you've selected. Click and hold your left mouse button and drag it to create a box around the area you want to scan (as shown above). Once you have the area you want selected, release your left mouse button. 5. If you would like, you can adjust the brightness and contrast settings to change the appearance of the image. If in doubt, just leave them as is. 6. Once you're finished, click the “Scan” button near the bottom right. Your scanned image will automatically save to the desktop, as shown below. You can now save Your scanned document will appear on the desktop. Scanning documents at NBPL, p.3
- 4. it, transfer it to a thumb drive, or attach it to an email. 7. Once you've scanned your document, you can now either scan another document or just click the “X” in the top left corner of the program to close the scanning software. 8. To delete your scanned image from the desktop, click on the icon of the image and press the “Delete” key on the keyboard. Other settings Skanlite defaults to save scanned files in .jpg format. If you'd like to save them in another image format, such as .png or .bmp, click the “Settings” button near the bottom right of the screen and change the format in the drop down menu on the right side of the screen. Unfortunately, our scanning software is not capable of scanning directly to .pdf format. Change the image type here. Last updated: March 2, 2010, by Buzzy Nielsen This walkthrough is licensed under a Creative Commons 3.0 Attribution United States license. For more information, visit http://www.creativecommons.org. Scanning documents at NBPL, p.4