2. bubbl.us
bubbl.us 1 Staff Development
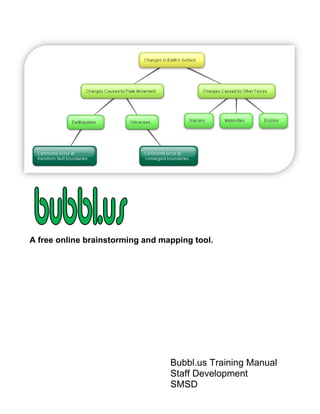
Bubbl.us (pronounced bubble dot u s) is a free online tool for
organizing one’s thoughts and ideas. This brainstorming, mind-
mapping tool is similar to Inspiration but is available for free on
the internet. It is useful in the classroom for just about any age
and course. Creating a free online account is helpful in order to
save the bubbl.us projects and return to them later.
Brainstorming purpose:
Focus attention on a particular topic
Generate ideas through free flowing conversation
Teach acceptance and respect for individual differences
Contributions are accepted without criticism or judgment
Encourage students to take risks when sharing ideas and
opinions
Demonstrate to students that their knowledge are valued
and accepted
Introduce the practice of idea collection prior to beginning
tasks such as writing or solving problems
Provides an opportunity for active listening
3. bubbl.us
bubbl.us 2 Staff Development
Go to https://bubbl.us/ to get started.
Explore
Press Start Brainstorming to
begin. You will only be able to
print this or copy it and will not be
able to save it until you create an
account.
Create an Account
Click on Create Account and follow
prompts.
Once you have an account you are able to
save bubbl.us projects and return to them.
4. bubbl.us
bubbl.us 3 Staff Development
Bubble Anatomy
The Bubble: Each new Bubble will contain the same controls.
Formatting: Options for formatting text, color, moving bubble or deleting it will
appear when you hover the mouse on the edges of the bubble.
Bubbles
Adding a new Bubble (sub-topic):
Hover mouse on the edge may also give you an option to create a new bubble
Sibling:
Once a subtopic is added, it is easy to
add more topics or “siblings” to it.
Formatting the Bubble:
Hover mouse on top of bubble to receive menu to
change color, size or to delete.
Pin: clicking pin will “pin” the bubble in place. The
control will change to “unpin” if you want to move
it.
5. bubbl.us
bubbl.us 4 Staff Development
Controls
Controls on the top left of the screen make it easy to enlarge the image, undo the last
keystroke or mouse movement, print or Export to as a .jpg.
Exporting:
The image may be exported as a digital photo image. Once saved, he image may be
inserted as an object in Word or PowerPoint.
Click Export.
Choose either JPG or PNG (note: JPG is
the preferred method).
Click Save when prompted. It will be
saved to the Picture files on your H: drive.
Print Options:
Send the presentation directly to a printer: Choose
Landscape or Portrait
Zooming and Panning
Zoom: Use the zoom tool at the upper left to make the
presentation larger OR use the scroll bar on the mouse to
make zooming even faster.
Panning: Use the mouse to pan anywhere by clicking in
the white area.
Save:
Save the presentation and return to it later. You will not be able to save if
you haven’t created an account.
Your previous sheets will appear. Just click on the one you want to work on.