Connector Corner: Accelerate revenue generation using UiPath API-centric busi...
MS Word 2010 tutorial 5
1. Insert Tab
Clip Art
When trying to enhance your word document you may want to include Clip Art
and/or Word Art. Microsoft Word comes with a Clip Gallery (Figure 1) that contains
a large variety of images including pictures, borders, and backgrounds. To find a
desired image, you can either click on topics or type in the search box to find
exactly what you are looking for.
To insert Clip Art: Go to Insert Tab > Clip Art.A new toolbar will appear on the left,
where you can search or browse (by hitting “Go”) and then select the desired
picture in the Clip Gallery. The picture will be inserted at the location of your
cursor within your document. If you need to modify you Clip Art, click on it once to
select it, and small boxes will appear around the corners (See WordArt, Figure 3).
Once your Clip Art is selected,
you can resize your picture by clicking and dragging on the boxes. Holding Shift while
clicking and dragging will resize the Clip Art proportionately.
You can use the Drawing toolbar to further modify your Clip Art.To delete Clip Art,
select it by clicking on it until the black boxes appear and then hit Delete.
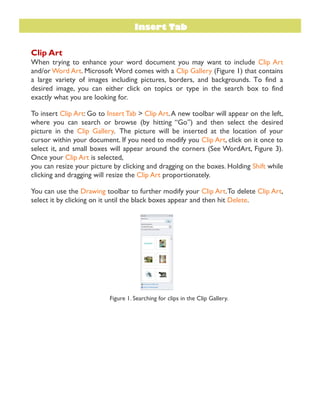
Figure 1. Searching for clips in the Clip Gallery.
2. Drawing
To draw in Word, go to the Insert Tab > Shapes and click the New Drawing Canvas.
A new toolbar will appear that is specific only to drawing tools.
Figure 2. Drawing toolbar.
Word art
To insert WordArt: Go to Insert Tab > WordArt. Select the desired style and click
Ok.Type the desired text and click Ok.You can further modify your text by using the
Drawing toolbar. To select your WordArt, click on it, and small boxes will appear in
the corners (Figure 19). Moving the yellow box on a selected WordArt allows the
user to change the slant of the WordArt.WordArt can be resized and deleted
similarly to Clip Art.
Figure 3. Selected WordArt.
3. Word Wrap
Word Wrap is a part of formatting pictures. To use Word Wrap, select your inserted
image, and go to the newly created Format Tab where you can choose the type of
text wrapping you desire. For more options, select More Layout Options (Figure 4).
Figure 4. Selecting a wrapping style
InsertingFromaPreviouslyCreatedFile
To insert a picture or object that is not in the Clip Gallery, go to Insert Tab > Picture
and select the directory or disk where the file is located. The easiest way to insert a
Microsoft Excel file or graph is to open Microsoft Excel, copy your information, and
switch back to Word to paste.
CreatingaTable
To create a table within your document, go to Insert Tab > Table. Choose the desired
table size and format, and click OK. The table will be inserted at the cursor’s
location within your document. To navigate within your table, use the arrow keys.
To modify your table, when your table is selected, a Design Tab and Layout Tab will
appear in the Toolbar (Figure 5). From here, you can add cells, columns or rows,
merge or split cells, and further modify your table. To exit the table, click outside of
it.
4. Figure 5.Table options from the Toolbar.
Flowcharts
Flowcharts are used to create diagrams in Microsoft Word. Word 2010 has a new
feature called Smart Art that allows you to insert all types of Flowcharts. If you
want to create a custom flowchart, you can use the Drawing capabilities discussed
earlier. To insert Smart Art, go to Insert Tab > Smart Art.A dialogue box will open
(Figure 6)
Figure 6. Smart Art Graphics