How to Use the Photoshop Pen Tool – Photoshop Beginner Tutorial
•Descargar como DOC, PDF•
2 recomendaciones•1,213 vistas

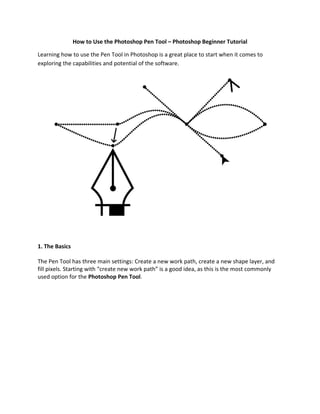
Learning how to use the Pen Tool in Photoshop is a great place to start when it comes to exploring the capabilities and potential of the software.

Recomendados
Más contenido relacionado
La actualidad más candente
La actualidad más candente (20)
Destacado
Similar a How to Use the Photoshop Pen Tool – Photoshop Beginner Tutorial
Similar a How to Use the Photoshop Pen Tool – Photoshop Beginner Tutorial (20)
Último
Último (20)
How to Use the Photoshop Pen Tool – Photoshop Beginner Tutorial
- 1. How to Use the Photoshop Pen Tool – Photoshop Beginner Tutorial Learning how to use the Pen Tool in Photoshop is a great place to start when it comes to exploring the capabilities and potential of the software. 1. The Basics The Pen Tool has three main settings: Create a new work path, create a new shape layer, and fill pixels. Starting with “create new work path” is a good idea, as this is the most commonly used option for the Photoshop Pen Tool.
- 3. 2. Using a New Work Path Now you have selected the “create a new work path” option from the path palate, select the “add to path area”.
- 4. 3. Pen Tool Once the new work path has been selected, take the Pen Tool from tool bar and click on a blank canvas. You will notice that each click assigns anchor points. You can create a straight line between these points by holding shift when you click.
- 7. 4. Delete Anchor Point Tool You can remove anchor points if necessary by right-clicking on the Pen Tool icon and selecting the “Delete Anchor Point Tool”.
- 8. 5. Add Anchor Point Tool You can also add more points by right-clicking on the Pen Tool icon and selecting the “Add Anchor Point Tool”.
- 9. 6. Convert Point Tool This option can be used to alter the properties of connecting lines and moving anchor points around. Once selected, click on one of your anchor points and hold and drag – you will notice that it affects the curve of the line.
- 10. 7. Moving Anchor Points With the Convert Point Tool active, you can also alter the location of anchor points. Simply hold down “crtl” while clicking on the anchor point and drag – you can now move the anchor point around.
- 11. 8. The Tangent Line The Tangent Line appears when you enable the Convert Point Tool for the Photoshop Pen Tool. This allows you to control the curvature of your lines. You can create very sharp angles by simply clicking on one of the ends of the Tangent Line and dragging the mouse. You’ll notice the curve you created previously will bend sharply depending where you and how far you drag.
- 12. 9. Moving the Whole Path Finally, you can manipulate the whole path you have created by selecting the Path Selection Tool using the toolbar. This will allow you to drag the whole path to a new location.
- 13. Do you want to practice the pen tool to create a clipping path for a product image? Just read another tutorial on how to make a clipping path using pen tool to get the desired image part. Or click here to see details about clipping path. Created by: Rokaiya Yeasmin Munni Senior Graphic Designer and Deputy Manager(SEO) of http://www.clippingpathindia.com/