
Recomendados
Más contenido relacionado
La actualidad más candente
Destacado
Similar a Microscope
Similar a Microscope (20)
Más de watler
Más de watler (20)
Último
Último (20)
Microscope
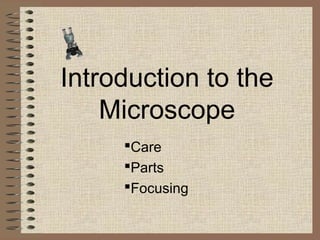
- 1. Introduction to the Microscope Care Parts Focusing
- 2. • Always carry with 2 hands • Only use lens paper for cleaning • Do not force knobs • Always store covered • Keep objects clear of desk and cords
- 3. Eyepiece Body Tube Revolving Nosepiece Arm Objective Lens Stage Stage Clips Coarse Focus Diaphragm Fine Focus Light Base
- 4. • Place the Slide on the Microscope • Use Stage Clips • Click Nosepiece to the lowest (shortest) setting • Look into the Eyepiece • Use the Coarse Focus
- 5. • Follow steps to focus using low power • Click the nosepiece to the longest objective • Do NOT use the Coarse Focusing Knob • Use the Fine Focus Knob to bring the slide What can you find on your slide?
Notas del editor
- Students will have their microscopes out, for reference as we go through each of the steps. As an introduction, students will be asked what kinds of things they can do with this tool.
- Teacher demonstrates how to hold the microscope, where the lens paper is located and how to use it. Students will be invited to turn the knobs and observe the stage as it moves up and down. Teacher will demonstrate how to store the microscope.
- This is the exact version of the microscope used in class. Students will be identifying the parts on the microscopes at their desks as we go along and what their functions are.
- Give students a slide from the “common things” set, each student will practice focusing and changing objectives.
- Have students exchange slides so they can look at different things, walk them through using the high power objective to focus slides. Emphasize not using the coarse objective during this process, as it will crack the slides.