2. 1. Scaling-ingredient are measured correctly
2. Mixing-briefly mix flour, water and yeast. Let rest
for 10-30 minutes, this is called autolyse. This time of
rest depends on the size of the batch. This allows the
starch to absorb the water.
Continue mixing on medium speed, and add the salt
at the end of the mixing process. Continue to mix until
resistance is felt when the dough is tugged on.
3. 3. Fermentation- This is done in
a covered container, with
enough room for the dough to
double in size.
4. Punching/folding-This evens
out the temperature of the
dough and gives the yeast
new food to eat.
5. Secondary fermentation-this
second rise helps with
structure and flavor
development especially at this
altitude
4. 6. Scaling-weigh to desired size.
Add an additional 10-13%
weight to allow for water
evaporation when baking if you
are trying to hit an exact weight
7. Shaping-shape to desired
shape. Place in container for
baking or on couch for transfer
to peel later
5. 8. Proofing-proof with heat and humidity, to
about twice it’s size. You can tell when this is
ready when you push a finger into the
dough and the dough holds it’s indentation
after it has doubled in size.
At this point it is place on the peel that will
used to load it into the oven. The dough is
scored at a sharp 70 degree angle.
This will break the surface tension of the
dough and allow the bread to expand
correctly during the baking.
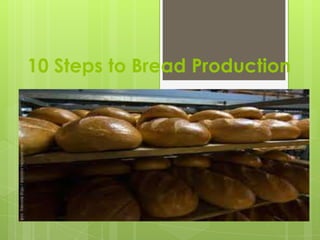
6. 9. Baking- French bread and
artisan breads are baked at
very high temperatures 550
degrees for example.
Water, (steam) is introduced
at the very beginning of the
baking.
This will allow the loaf to reach it’s
full capacity it also adds moisture
for proper crust development and
caramelization of the starches in
the flour to aid in color of the crust.
7. 10. Cooling- Bread much be cooled
before it is cut. The gluten strands
need to cool and reconnect. This is
best done on a wire rack to allow for
air circulation and not condensation