El documento describe los pasos para instalar una pizarra de proyector, incluyendo marcar los puntos de montaje con un lápiz, hacer los agujeros con un taladro, colocar tacos y tornillos gancho, colocar la pizarra en su lugar y probar la proyección.
INSTALACION DE UNAPANTALLA DE PROYECTOR
MATERIALES
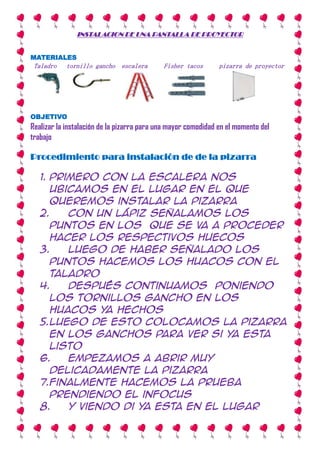
Taladro tornillo gancho escalera Fisher tacos pizarra de proyector
OBJETIVO
Realizar la instalación de la pizarra para una mayor comodidad en el momento del
trabajo
Procedimiento para instalación de de la pizarra
1. primero con la escalera nos
ubicamos en el lugar en el que
queremos instalar la pizarra
2. con un lápiz señalamos los
puntos en los que se va a proceder
hacer los respectivos huecos
3. luego de haber señalado los
puntos hacemos los huacos con el
taladro
4. después continuamos poniendo
los tornillos gancho en los
huacos ya hechos
5. luego de esto colocamos la pizarra
en los ganchos para ver si ya esta
listo
6. empezamos a abrir muy
delicadamente la pizarra
7. finalmente hacemos la prueba
prendiendo el infocus
8. y viendo di ya esta en el lugar
2.
adecuado
9. retiramos todo y dejamos en
orden
10. listo


![Manual Nuevo De Mediagua Antigua[1]](https://cdn.slidesharecdn.com/ss_thumbnails/manualnuevodemediaguaantigua1-100402164618-phpapp02-thumbnail.jpg?width=640&height=640&fit=bounds)


