Descargar como PDF, PPTX


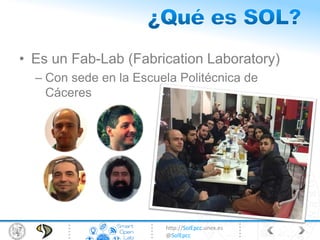
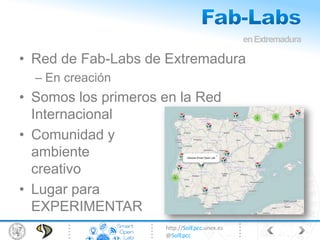
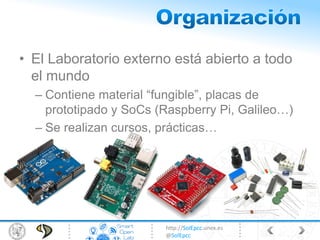


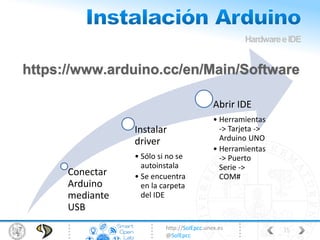

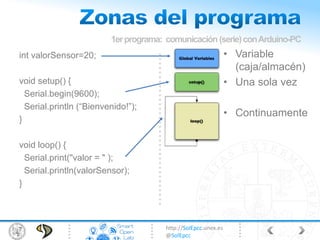


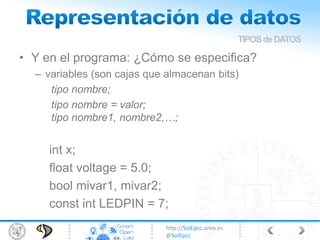
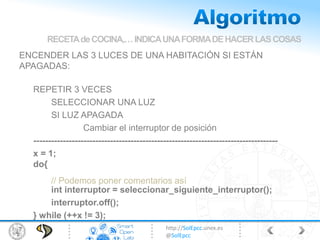


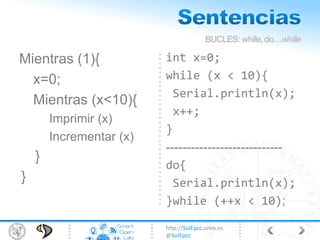


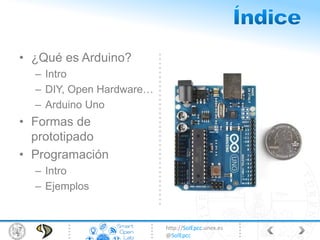


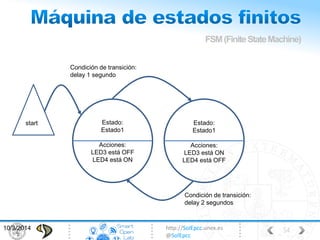
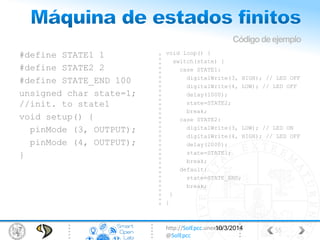
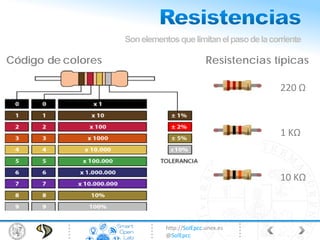


El documento describe un fab-lab en Cáceres que ofrece un espacio para experimentar y aprender en el contexto de la fabricación digital, abierto a estudiantes y comunidad en general. Se presentan detalles sobre la programación de Arduino, incluyendo la estructura básica de código, tipos de datos, operaciones y ejemplos de proyectos. Además, se abordan herramientas y módulos disponibles, así como la utilización de sensores y actuadores para la creación de dispositivos interactivos.


